

Updated September 21, 2026
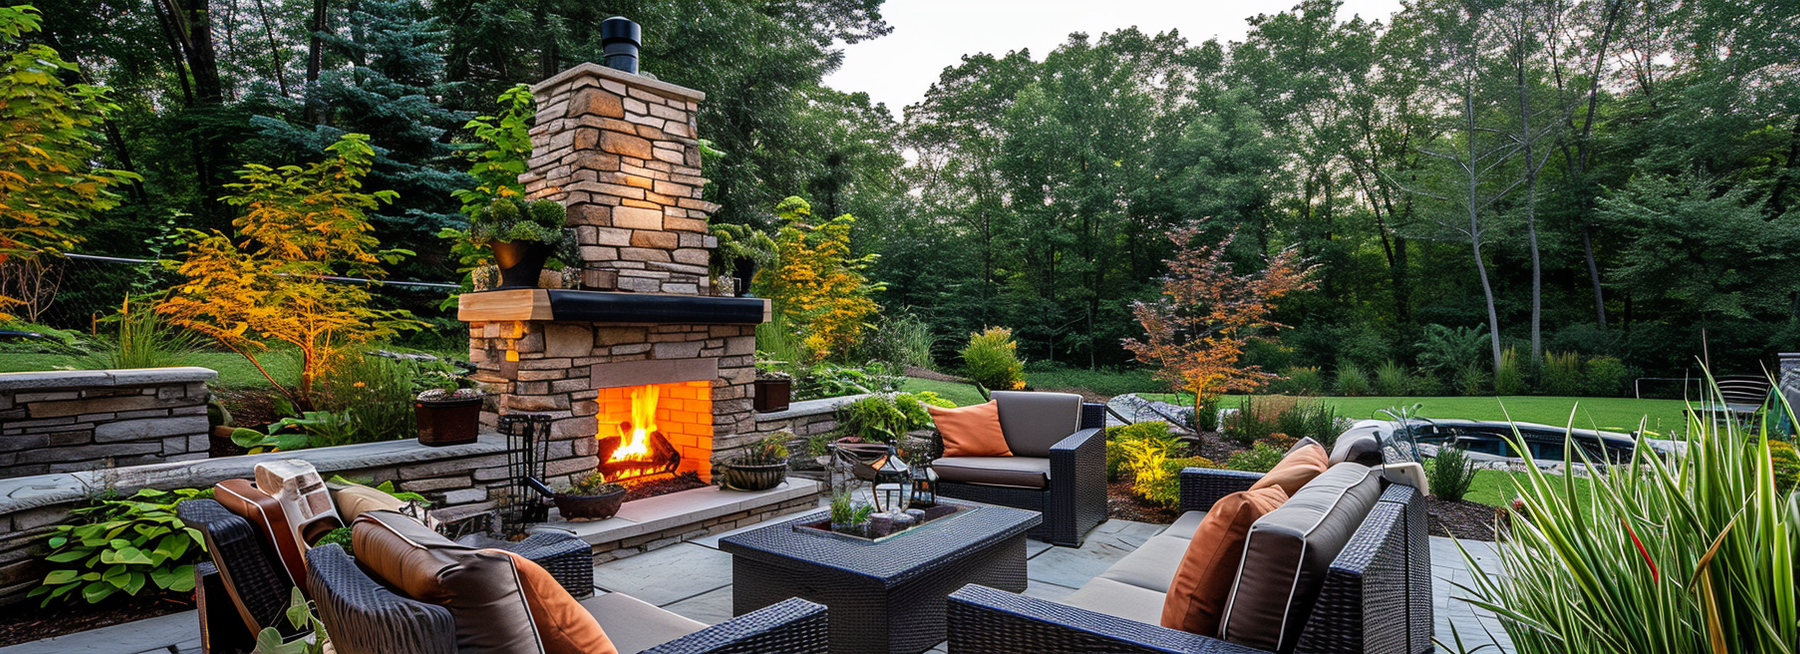
An outdoor masonry fireplace kit can simplify the firebox and chimney geometry, but the finished project still depends on site planning, foundation design, clearances, drainage, local permits and correct assembly. Choose the kit only after confirming how it fits the property.

Place the fireplace where smoke will not routinely blow toward doors, windows, seating or neighboring property. Check overhead branches, rooflines, fences, utilities, setbacks and prevailing wind. The chimney height and termination must follow the kit instructions and local requirements.
The current Fireplace Kits collection includes ten active products, including 24-, 36- and 48-inch Standard Series kits, New Age zero-clearance models, firebrick and fireplace/oven combinations. Compare:

Masonry is heavy. The base must support the completed fireplace without settlement or frost movement. Requirements vary by soil, climate and local code, so confirm footing depth, reinforcement and slab specifications with the manufacturer and local building authority. Grade the surrounding area so water drains away from the structure.
Stone, brick, stucco and veneer change the finished dimensions and weight. Select noncombustible materials rated for the intended exposure and temperature. Keep required expansion gaps, ventilation and access points open instead of covering them for appearance.

The best kit is the one that fits the site, code requirements, desired finish and installation capability. Treat the manufacturer’s drawings as construction documents, not suggestions, and use qualified masonry and chimney professionals where required.
Leave a comment